


Mastering Gold Investments with Fintechzoom.com Gold
mayo 20, 2025
Mastering Email Contact Durostech for Business Excellence
mayo 20, 2025
Photography is all about capturing moments, and sometimes, a little magic can make those moments shine brighter. That’s where Photeeq lens flare comes in. If you’ve ever wanted to add a cinematic sparkle or a warm, dreamy glow to your images, this tool can make it happen. In this article, we’ll delve into what Photeeq lens flare is, how it functions, why photographers adore it, and how you can use it to make your images stand out. If you’re a beginner or an advanced photographer, this tutorial will enable you to make professional-looking photos with breathtaking light effects.
What Is Photeeq Lens Flare and Why Does It Matter?
Lens flare results from light being scattered within a lens of a camera, producing streaks, halos, or bursts of light in your image. Consider the golden hue in a sunset photo or the theatrical beams in an on-screen scene—that’s lens flare. Photeeq lens flare is an editing tool that can replicate and amplify such effects in your image, allowing you to control the look of light. Unlike natural lens flare, which can only use real-world lighting, this tool allows you to add and personalize effects during post-production, and it’s a game-changer for photographers.
Why is this software so widely used? It’s easy—it adds depth, mood, and a professional look to your photos. Whether photographing portraits, landscapes, or product photography, a skillfully placed flare can make your images pop. And with Photeeq’s intuitive interface, anyone can produce breathtaking effects without years of experience.
Learning the Fundamentals of Photeeq Lens Flare Effects
Before we get into using Photeeq lens flare, let’s first discuss what sets it apart. Photeeq is a photo editing software that is dedicated to generating realistic, adjustable lens flare effects. It integrates well with industry-standard editing platforms such as Adobe Photoshop and Lightroom, slotting right into your current workflow. The tool has different types of flares, ranging from subtle, natural glows to loud, anamorphic streaks, allowing you to pick the ideal look for your photo.
With this software, you have the ability to adjust the intensity, color, and location of the flare so it looks realistic and can blend harmoniously with your image. This capability is what makes it perfect for photographers looking to enhance their photo with a creative touch without devoting hours to adjusting settings.
Why Add Lens Flare Effects to Your Photography?
Inserting lens flare effects into your images is not only about looks—it’s about the story. A properly placed flare can elicit emotions, give a cinematic feel, or draw attention to certain areas of your photo. These are just some reasons why photographers adore applying these effects:
Boosts Mood: A golden, warm flare can make a portrait warm, and a blue, cool flare gives it a futuristic feel.
Adds Depth: Flares add a sense of depth, and your pictures become more immersive.
Boosts Creativity: With unlimited options for customization, lens flare effects allow you to play around and produce one-of-a-kind effects.
Professional Polish: A discreet flare can provide your pictures with that “wow” factor and make them magazine-worthy.
Whether you edit the wedding picture or landscape shot, Lens Flair effects can lift your work and make it stand on social media or in your portfolio.
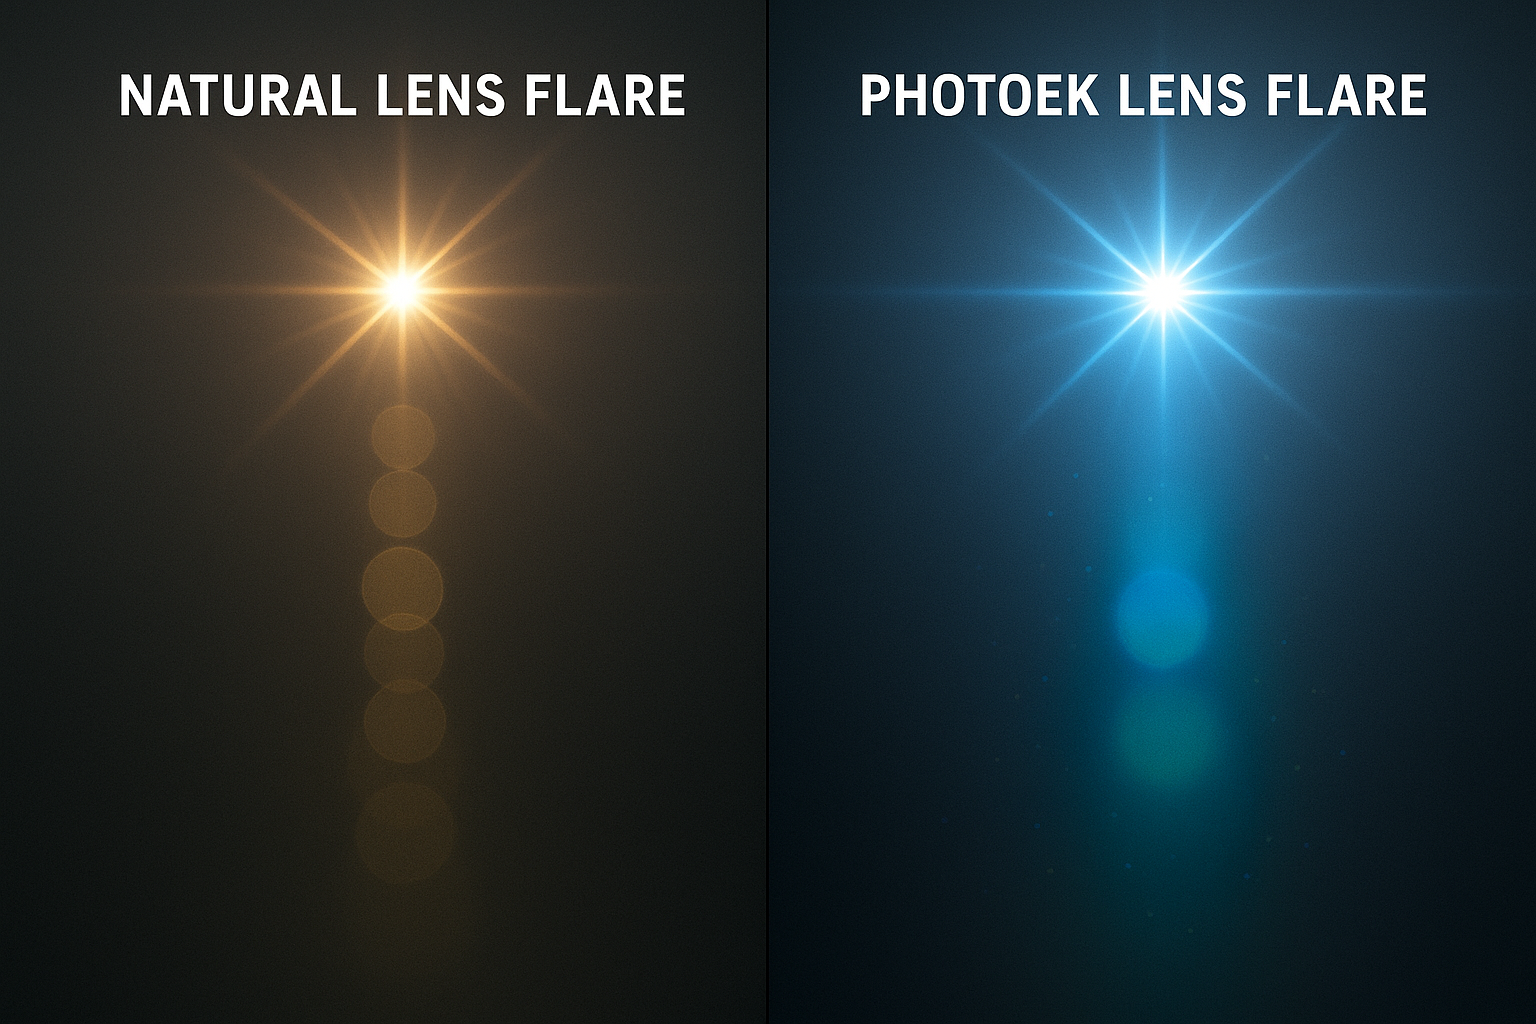
How Photoek Lens Flare differs from natural flares
Natural lens outbreaks occurs when the light hits the lens of your camera at some angles, often by chance. It is unexpected and depends on factors such as the sun’s position or artificial lighting. Although natural torches are wonderful, they are difficult to manage. Photeeq Lens Flare allows you to keep the flares a solution where you need them, change the look and adjust the lighting according to the sight. This is why it is a favorite among photographers who want frequent results.
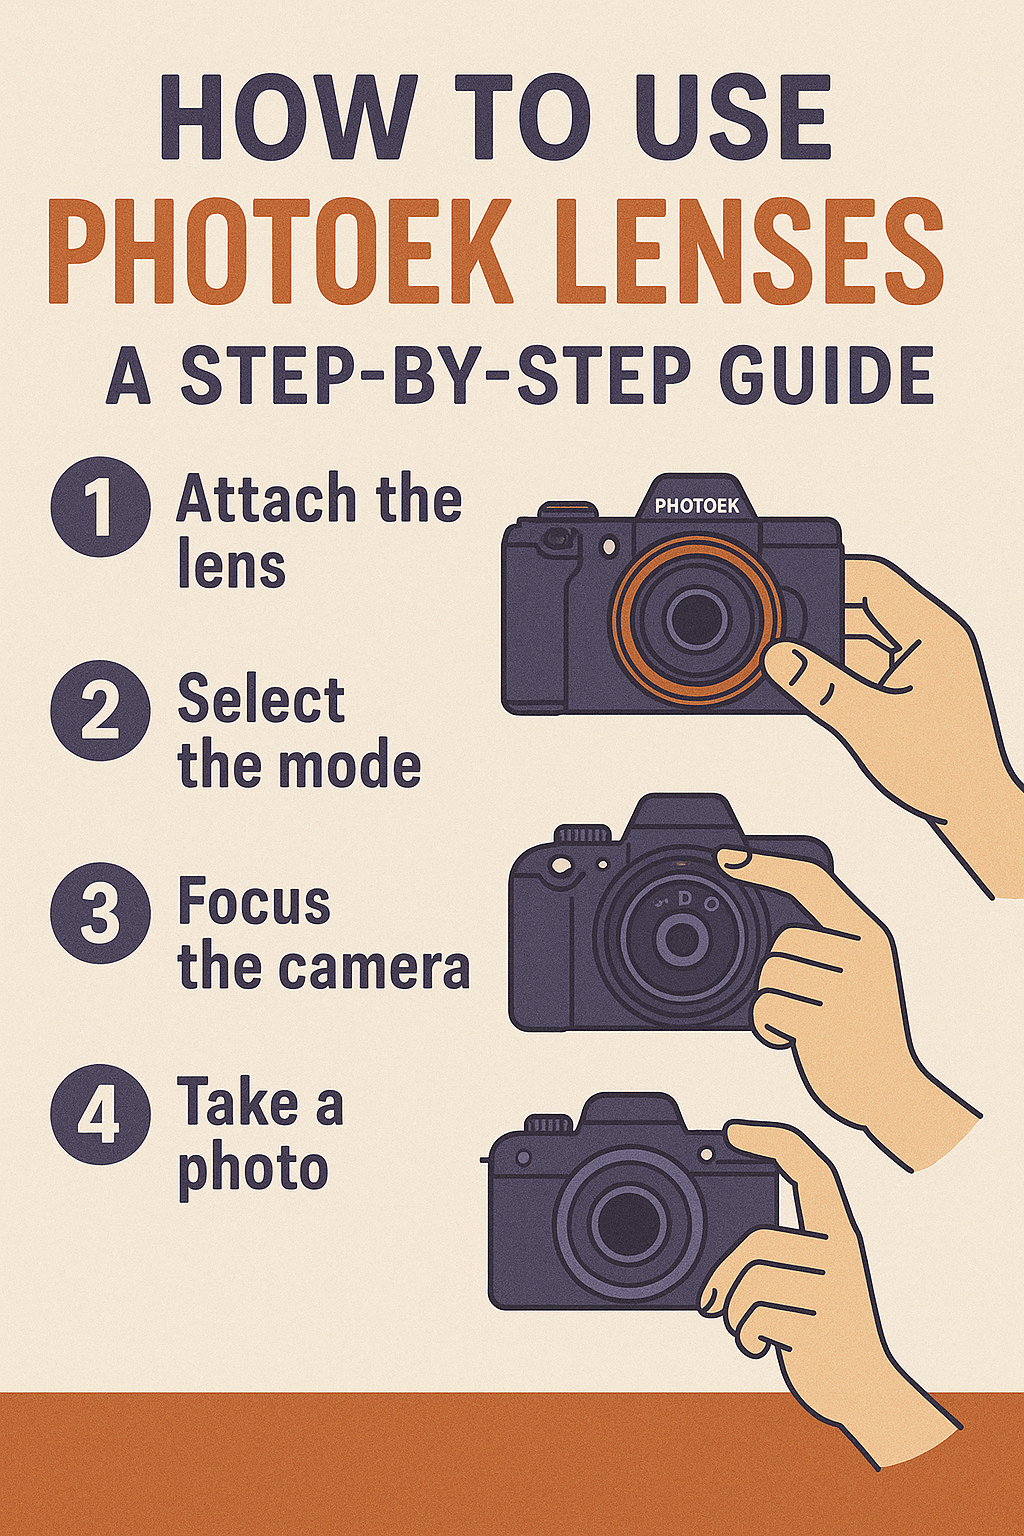
How to use Photoek Lenses: a step-by-step guide
Are you ready to try to provoke the Photeeq lens? Here’s a simple guide to start. Even if you are new to photo editing, the process is straight and fun.
Step 1: Install and enter the photeeeq
First, download the tool from the official site or your favorite software market. It is compatible with most editing programs, so check if it works with your layout (eg photoshop or literoom). When installed, open the image in the editing software and load the Photeeq plugin. The interface is intuitive, with sliders and presets that make it easy to start.
Step 2: Choose the Right Flare Effect
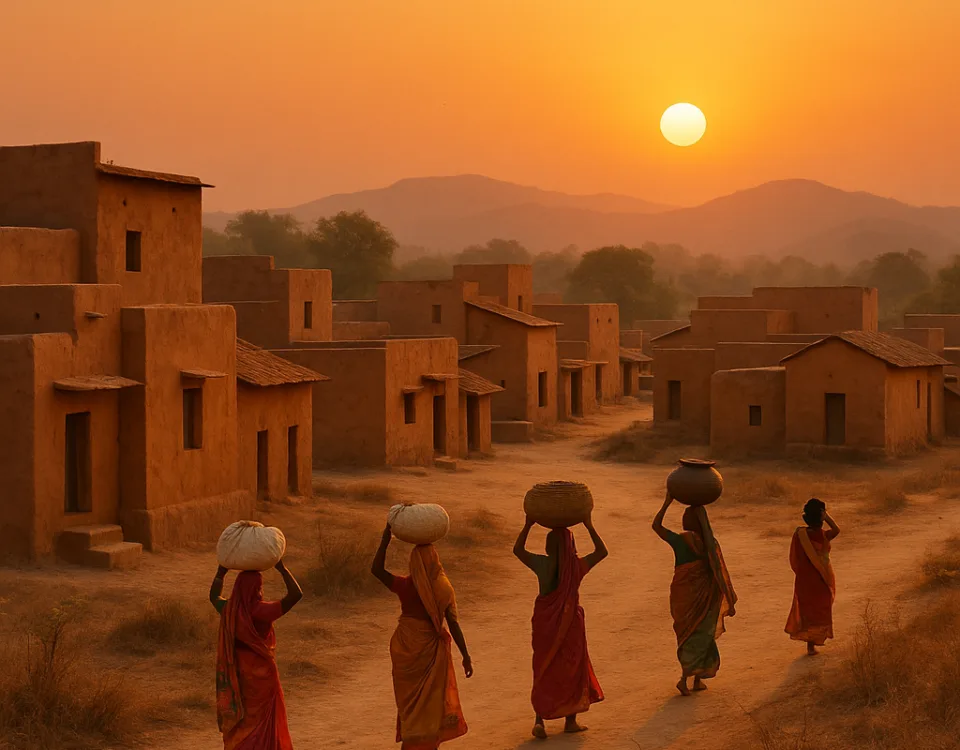
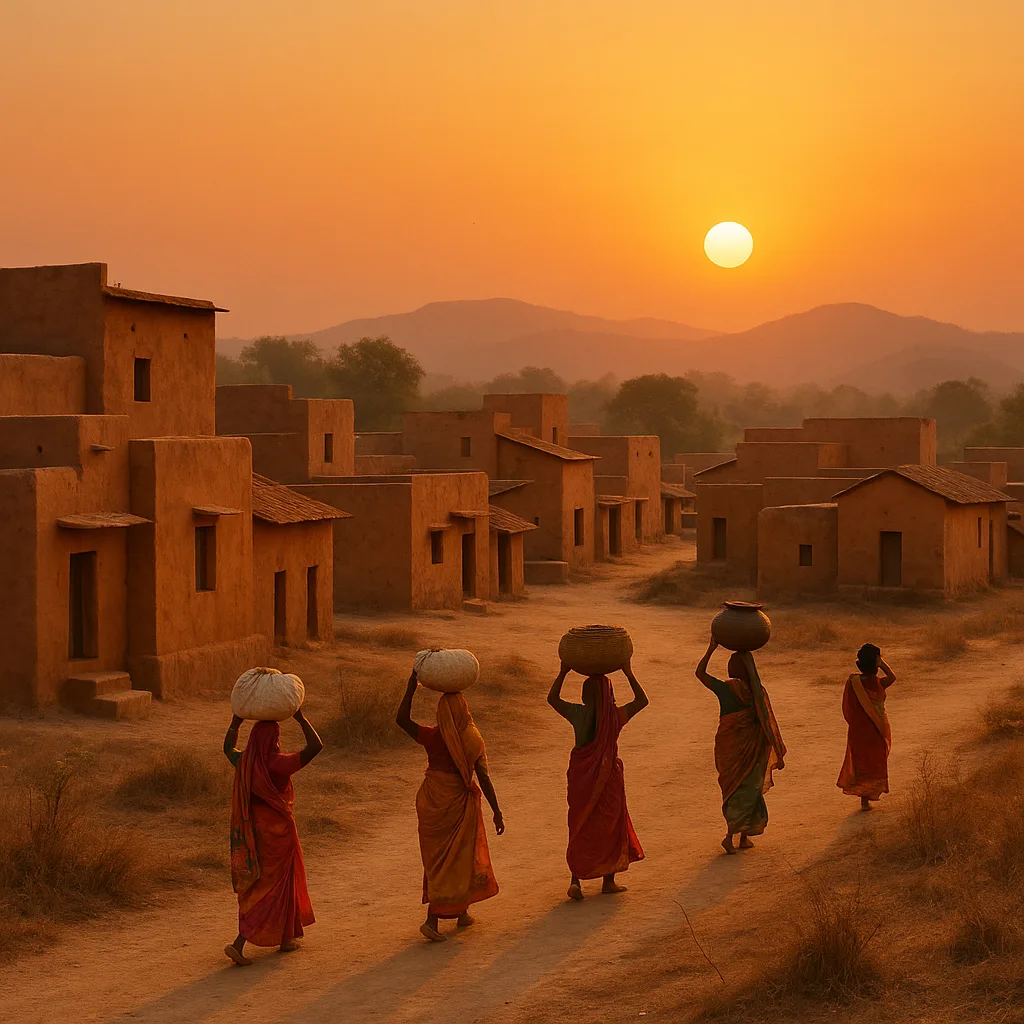
The tool provides varying flare types, from gentle glows to dynamic streaks. Choose a type that suits the mood of your photo.For example, an orange, round flare is perfect for sunset, while a blue, linear flare is ideal for action images. Play with different types and see what the best works.
Step 3: Adjust intensity and color
Once you have a flare, use sliding switches to refine the intensity and color. A subtle flare can give a soft shine, while a bold gives a striking effect. For a natural look, match the color of flare for light in your image – for example, use warm tones for golden hours shoots.
Step 4: Furious
Furiously so it can add your creation. For instance, place it close to light such as the sun or a lamp so that it will look natural. Don’t position it over your subject’s face or important details because it will be distracting. The feature allows you to drag and drop the flare, so experiment until it looks good.
Step 5: Blend and Refine
To make your flare appear natural, apply blending modes through your editing tool. Flare modes such as “Screen” or “Overlay” are good to use. You can also reduce the opacity for a less dramatic effect. Take time to ensure the flare flows naturally with your picture.
Tips for Using Photeeq Lens Flare Like a Pro
Now that you have a foundation, these are some pro tips to get your flare effects working:
Keep It Subtle: Too many flares will look unnatural on your photo. Begin with a subtle effect and work your way up.
Match the Lighting: Make sure the flare matches the light sources in your image. If the sun is on the left, position the flare similarly.
Use for Specific Genres: Lens flare effects are fine for portraits, landscapes, and film shots but can be too much for minimalist ordocumentary-style photographs.
Play Around with Layers: Place multiple flares on various layers to achieve intricate effects, but don’t be excessive.
Check on Various Devices: Look at your edited image on different displays to see that the flare works well everywhere.
Most Common Mistakes to Steer Clear of with Lens Flare Effects
Photeeq lens flare is simple to use, yet there are a couple of mistakes to be careful about:
Overuse: Too much flare can overwhelm your image and distract from the subject.
Inconsistent Lighting: If the flare doesn’t match the light source, it’ll look fake.
Ignoring Composition: Placing flares randomly can ruin the balance of your photo.
By keeping these in mind, you’ll create images that look polished and professional.
Comparing Photeeq Lens Flare to Other Tools
This plugin is not the sole way to achieve lens flare effects. Other alternatives such as Lens Distortions and Optical Flares are also well-used. Yet, Photeeq is unique in its simplicity, cost, and extensive range of customization options. Unlike plugins that are cumbersome or complicated and require expert-level skills, Photeeq lens flare is user-friendly yet still gives pro-grade results. It also complements top-tier editing programs seamlessly, making it a highly convenient tool.
Lens Flare Effects vs. Lens Distortions
Lens Distortions provides comparable effects but is very cinematically oriented, and what works perfectly for movies might not be ideal for all photographers. Photeeq gives more styles, ranging from natural to extreme, so it is more flexible when dealing with various genres.
Lens Flare Effects vs. Optical Flares
Optical Flares is ideal for video editors but perhaps overkill for photographing stills. Photeeq is specifically designed for photographers, with a clean interface and saving of time and effort.
Why Lens Flare Effects Give Your SEO and Social Media a Boost
In addition to making your photographs stunning, lens flare effects can give your presence on the web a boost. Gorgeous images with beautiful light effects tend to receive more likes, shares, and comments on sites such as Instagram and Pinterest. Such activity informs search engines that your content is worth their while, improving your website’s SEO. A case in point is a photographer highlighting his or her portfolio: images with lens flare effects can receive more clicks and keep users on your site longer—a big search engine ranking factor.
To optimize SEO, utilize images with Photeeq lens flare on blog articles or galleries and write associated alt text using keywords such as “lens flare photography.” This makes it easier for search engines to comprehend your photos, increasing your chances of ranking higher.
Real-World Examples of Lens Flare in Action
Still not convinced how these effects can change your work? Picture a portrait of a couple during sunset. Placing a soft flare close to the sun creates a romantic, warm tone that lifts the mood. Or visualize a product shot for a jewelry company—a soft flare can make the piece shine, focusing on its details. These examples demonstrate how lens flare effects can make ordinary photos exceptional.
Conclusion: Let Your Imagination Run Wild with Photeeq Lens Flare
Photeeq lens flare is a versatile tool for photographers who seek to put magic into their photos. With its intuitive interface, adjustable effects, and support for widely-used editing software, it is suitable for beginners and professionals alike. With the suggestions outlined in this article, you can produce striking, professional-quality photos that impress online and offline. So why wait? Download the tool now and begin testing light effects to push your photography to new levels.
Have you experimented with lens flare effects on your images? Share your best tips or pictures in the comments below, and let’s inspire one another to take fantastic photos!

