eSIM vs Physical SIM: Which One Is Better for You?
November 18, 2025
eSIM vs Physical SIM Turkey 2025: A Simple Guide for Travelers
November 28, 2025Phones moved from plastic SIM cards to digital ones very quickly. Many people now receive an eSIM QR code instead of a tiny card, often right before a trip or number change. It looks simple, but it can be stressful if you only have one phone, no printer, and no idea how to scan a code that lives inside your own email.
An eSIM QR code is basically a shortcut. It tells your phone where to download your digital SIM and how to activate it. Once you understand a few clear patterns, the whole process becomes much easier to repeat on future trips and devices.
Quick Look: What an eSIM QR Code Does
eSIM = digital SIM inside your phone.
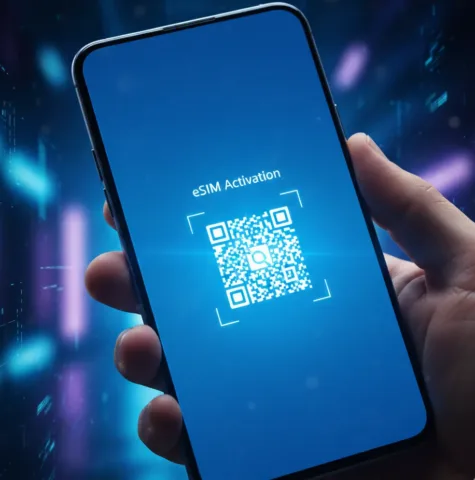
eSIM QR code = picture that tells your phone how to download that digital SIM.
You can usually:
Scan the QR,
Install via an app, or
Enter details manually if scanning fails.
The goal is always the same: add a new mobile plan to your phone without a plastic card.
What Is an eSIM QR Code?
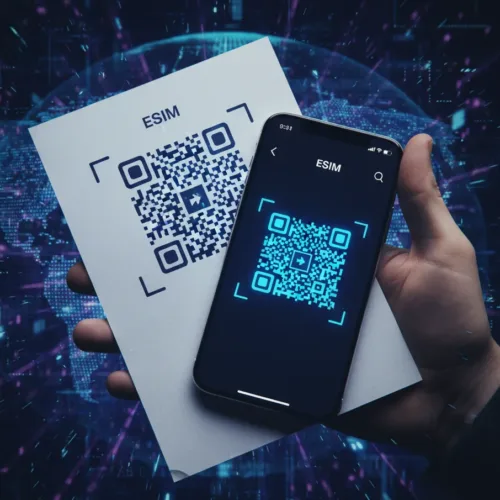
When you buy an eSIM from a carrier or travel provider, they send you a special QR image. This is the eSIM QR code. It may arrive in an email, appear inside an app, or be printed on a card at a shop or airport.
Behind that image, there’s a secure link and some activation data. When your phone scans it, it contacts a server, downloads the eSIM profile, and adds it as a new mobile plan. You see a few confirmation screens, and then your phone shows signal bars for the new line.
You might receive this code:
As a picture or PDF in your inbox,
Inside a carrier or travel eSIM app,
Printed on paper or a small card.
They all behave the same once the camera reads them.
Before You Ask for an eSIM QR Code
Checking a few things early prevents problems later:
Device support: Make sure your phone actually supports eSIM. Many newer iPhones, Samsungs, Pixels and recent Android flagships do; some cheaper or older devices do not, check this list to see if your device is compatible for eSIM.
Unlocked or locked: If your phone is locked to one carrier, you might not be able to use travel eSIMs from others.
IMEI and details: Some providers ask for your IMEI or device details. It’s helpful to know where they are in your settings.
Plan choice: Decide which country or region you need, how much data is enough, and how many days you will use it.
Doing this before you receive or buy an eSIM QR code saves time when you’re already at the airport or on the road.

Discover how you typically receive your eSIM QR code, whether from your mobile carrier or a travel provider, and why it's crucial to keep this digital key safe.
How You Usually Get an eSIM QR Code
In most cases, eSIM QR codes come from one of two places:
1. Your regular mobile carrier
Many carriers now let you switch from a physical SIM to an eSIM. You can request this in a shop, through their website, or in their official app. They might show you the QR code on the screen, print it for you, or email it.
2. A travel eSIM provider
Travel eSIM services let you choose a destination and data package online. After you pay, they send an email with your eSIM QR code and basic instructions. Often, you can also find the code or a direct “Install eSIM” button inside their app or account page.
Treat the eSIM QR code like a key: keep the email safe, don’t share screenshots with strangers, and avoid posting it anywhere public.
eSIM QR Code Install Methods at a Glance
Here’s a quick overview of the main ways to install an eSIM profile:
| Method | What You Use | Best When | Possible Drawbacks |
|---|---|---|---|
| Scan QR with camera | Printed code or on another screen | You have a laptop, tablet or printer | Needs a second screen or a printout |
| Long-press / detect image | QR inside Mail / Photos on phone | You only have one phone | Depends on OS version / apps |
| Install via provider app | Official eSIM / carrier app | Provider has a good mobile app | Not all providers support direct install |
| Manual entry | SM-DP+ address + activation code | QR doesn’t scan or is low quality | Slower, must type everything correctly |
How to Install an eSIM QR Code on iPhone
On iPhone, installation usually starts in Settings.
Make sure you’re connected to Wi-Fi or have another active data connection.
Open Settings → Mobile Data or Cellular.
Tap Add eSIM or Add Mobile Plan.
Choose the option to Use QR Code and point the camera at your eSIM QR code on another screen or printed page.
Follow the on-screen steps until the new plan is added and shows signal.
On iOS 17.4 and later, there’s a useful trick when your code is in an email. If you use the Apple Mail app, open the email, press and hold on the QR image, and look for an option like Add eSIM at the bottom of the menu. This lets you install directly from your inbox without another device.
If the phone says the eSIM is added but shows no signal, wait a moment, restart your iPhone, and check which plan is chosen for mobile data in the Mobile Data settings.
How to Install an eSIM QR Code on Android (Samsung, Pixel, Xiaomi)
The basic idea on Android is always the same: go into network settings, add an eSIM, and scan the QR.
On many Samsung phones, you open Settings → Connections → SIM manager (or SIM card manager). There you tap Add eSIM or Add mobile plan, choose to use a QR code, and scan it. After a short wait, the new plan appears and you can choose whether it handles data, calls, or both.
On Google Pixel, you usually go to Settings → Network & Internet → SIMs → Add eSIM. The phone offers to use a QR code. Once you scan, the Pixel downloads the profile and shows a confirmation when it’s ready.
On Xiaomi and other Android brands, the names are slightly different but the structure is similar. You might find it under Settings → SIM cards & mobile networks or Settings → Connections → Mobile networks, then an option to add an eSIM and scan the code.
If the names don’t match exactly, look for any menu that mentions “SIMs”, “eSIM”, or “mobile plan” and the option to add one.
Installing an eSIM When You Only Have One Device
Many people receive their eSIM QR code by email on the same phone that needs to scan it. It feels impossible at first, but there are several ways around this problem.
One option is to open the email on a different screen. If you have a laptop, tablet, or a friend’s phone nearby, log into your email there and display the QR code. Then use your own phone camera to scan it, just as if it were printed.
Another option is to save the QR image to your photo gallery. Some users open the image full screen and then rely on the system to recognize it. On certain iPhones and Android devices, the Camera app or the Photos app can detect the QR pattern and offer a link that starts the eSIM installation process.
In many cases, the easiest way is to skip the QR entirely and use the provider’s app. After logging in, you select your purchased plan and tap a button like Install eSIM or Add to device. The app talks to the operating system and sets up everything in the background.
If none of these work, you can fall back to manual installation. In your eSIM email, look for a section labeled “Manual install” or “Enter details manually”. There you’ll see an SM-DP+ address and an activation code. In your phone’s add-eSIM screen, choose manual entry and type those values exactly.
If all else fails, support from the provider is usually the fastest route. They can see the status on their side and reset or resend what’s needed.
Travel Tips: When to Install Your eSIM QR Code
For travel eSIMs, timing and preparation help a lot. A good moment to install is when you have calm, stable Wi-Fi, such as at home, a hotel, or an airport lounge. Many plans only start counting days once you connect in the covered country, so preparing a few hours early is usually safe.
If your phone supports dual SIM, you can keep your home SIM for calls and texts and use the eSIM purely for data abroad. In your settings, choose which SIM handles mobile data and which one stays as your main number. This way you keep your usual WhatsApp, banking apps, and contacts while using cheaper or more flexible data.
As a small safety net, keep a backup of your eSIM details. You can save the email offline, download any attached PDF, or print the QR code before leaving. If you lose access to your inbox or your main device, that extra copy can save you from hunting for Wi-Fi and passwords when you’re tired from travel.
FAQ About eSIM QR Codes
Can I install an eSIM without a QR code?
Yes. Many providers let you install an eSIM directly from their app, and most also offer a manual option using an SM-DP+ address and an activation code that you enter in your phone’s eSIM settings. How to activate the eSIM.
Can I reuse my eSIM QR code on a new phone?
Sometimes you can, but often you cannot. Many eSIM QR codes are one-time or limited-use. If it no longer works, ask your provider for a new code or a transfer.
What if I delete my eSIM profile by mistake?
Deleting the eSIM from your phone does not always cancel the plan at the provider, but the original QR may be invalid. Contact support, explain the situation, and they can usually send fresh installation details.
Do I need internet to activate an eSIM QR code?
You can scan the code without internet, but your phone needs a data connection to download the profile. It’s best to be on Wi-Fi or have another active SIM when you install.
Is it okay to keep a screenshot of my eSIM QR code?
Keeping a private screenshot is fine if you store it securely. Just remember that anyone with that image could try to use your eSIM, so treat it like a credit card photo and never share it openly.

