How to Set Up Your eSIM on Motorola for Seamless Travel
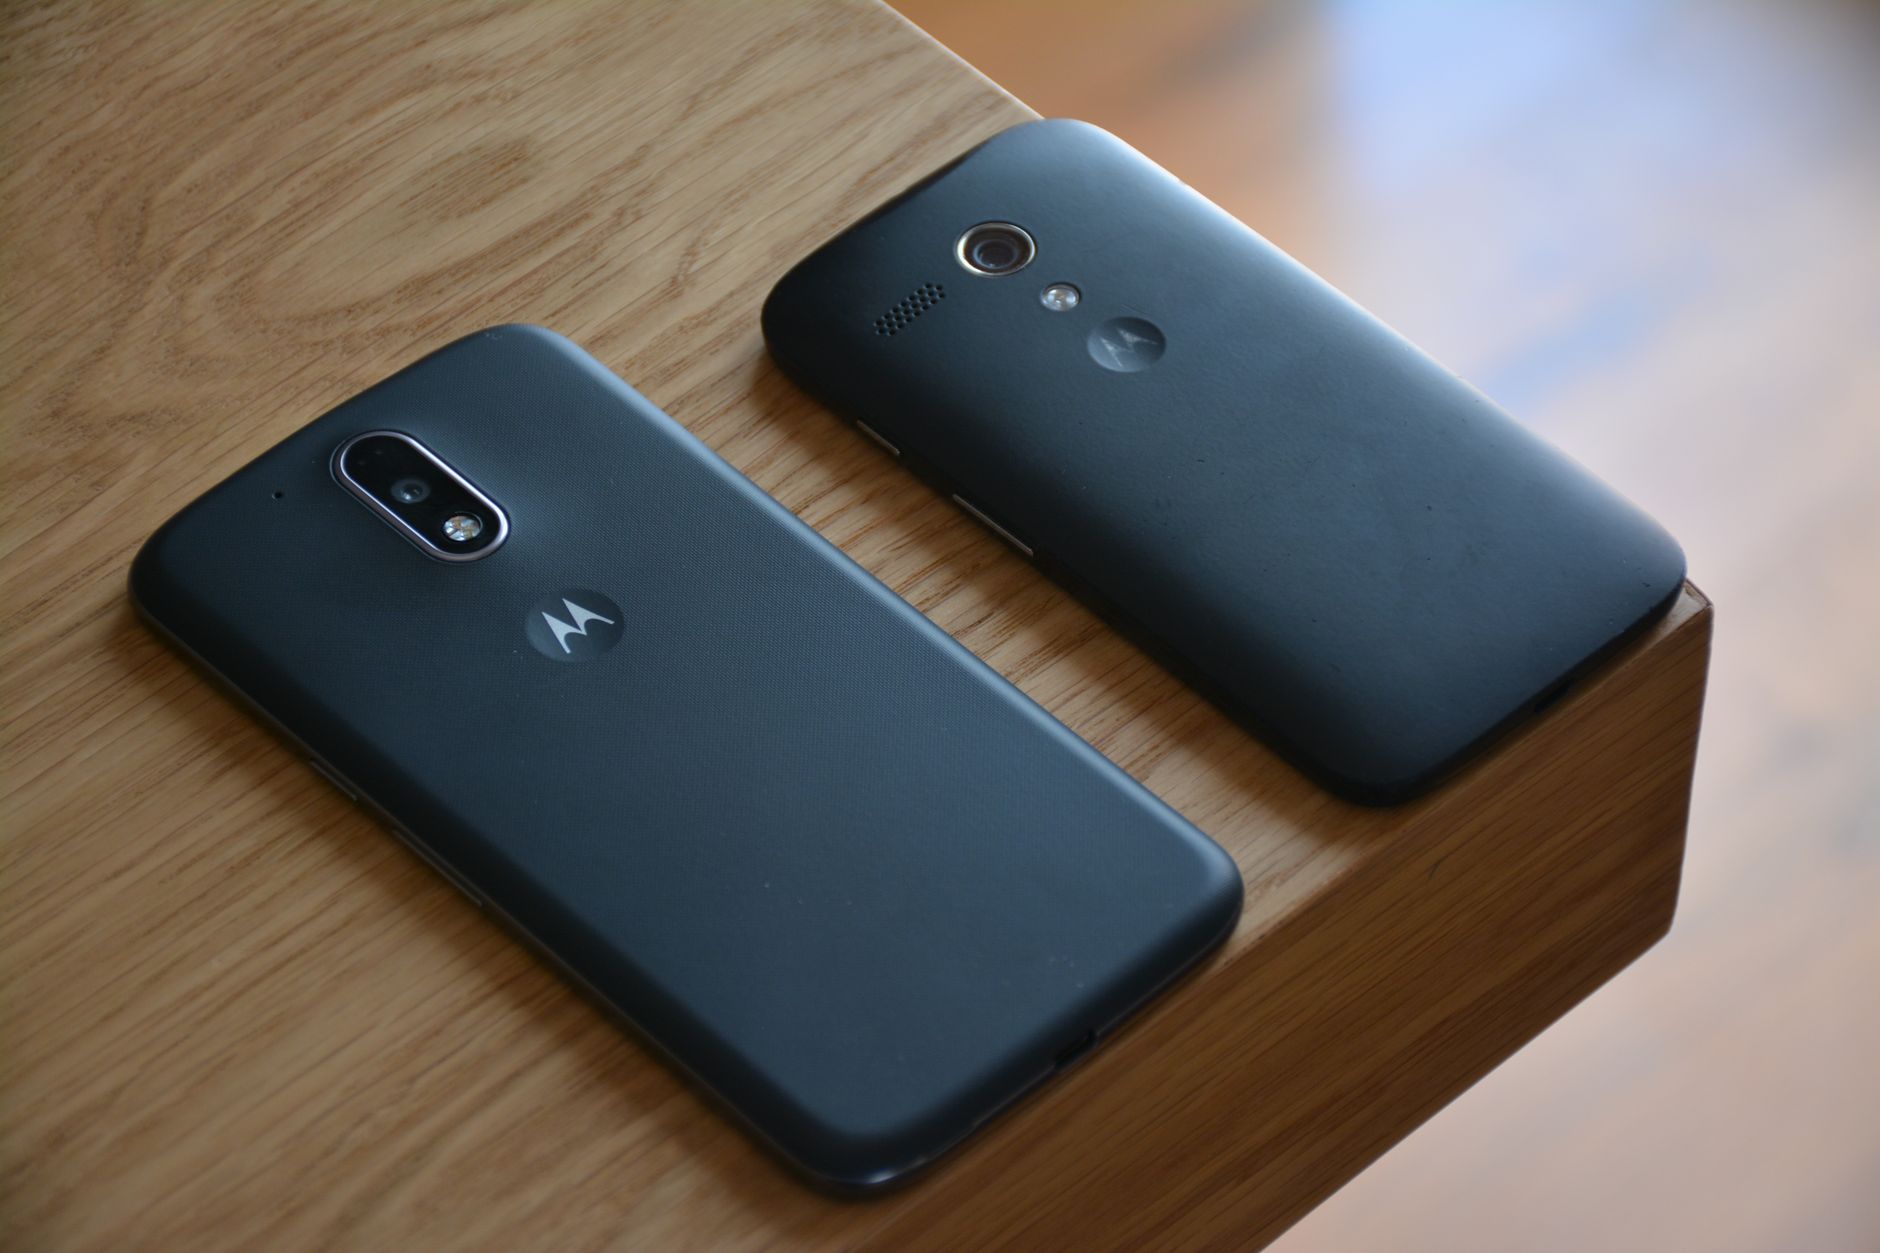
If you're looking to simplify your travel data, setting up an eSIM on Motorola phones is a smart move. Gone are the days of fumbling with tiny physical SIM cards or paying exorbitant roaming fees. With an eSIM, you can instantly add a local data plan for your destination, all while keeping your home number active. Motorola's near-stock Android experience makes the setup process relatively intuitive, but there are a few specific steps to follow to get your new data line up and running smoothly.
Why Use an eSIM on Motorola for Travel?
Using an eSIM, particularly a data-only travel eSIM like those from StrongeSIM, offers a ton of benefits when you're on the road. For one, you get to keep your primary SIM card active. This means you can still receive calls and texts on your regular number, even if you're using the eSIM for all your data needs. No more swapping cards, no more missed messages. It's also incredibly convenient: you can buy a plan online and have it activated in minutes, often before you even land. Plus, you avoid those nasty roaming bills that can sneak up on you.
Is Your Motorola Phone eSIM Compatible?
Not all Motorola phones support eSIM, so the first step is always to check your specific model. Generally, you'll find eSIM support on newer, flagship-level devices. The most common Motorola series with eSIM capabilities include:
- **Motorola Razr series:** This includes the Razr (2019), Razr 5G, Razr 2022, and newer models.
- **Motorola Edge series:** Many recent Edge models, particularly those released from 2022 onwards, feature eSIM support. This often includes the Edge+, Edge Pro, and some standard Edge variants.
- **Other select models:** Some regional variants or special editions might also have eSIM. If you're unsure, check your phone's specifications on Motorola's official website or your device's settings under `About phone` or `SIM status`.
The simplest way to confirm is to navigate to `Settings > Network & internet > SIMs`. If you see an option like `Download a SIM instead` or a plus (+) icon next to a physical SIM slot, your phone is likely eSIM-compatible.
Before You Start: What You'll Need
- **Your Motorola phone:** Fully charged, of course.
- **A stable Wi-Fi connection:** Essential for downloading the eSIM profile.
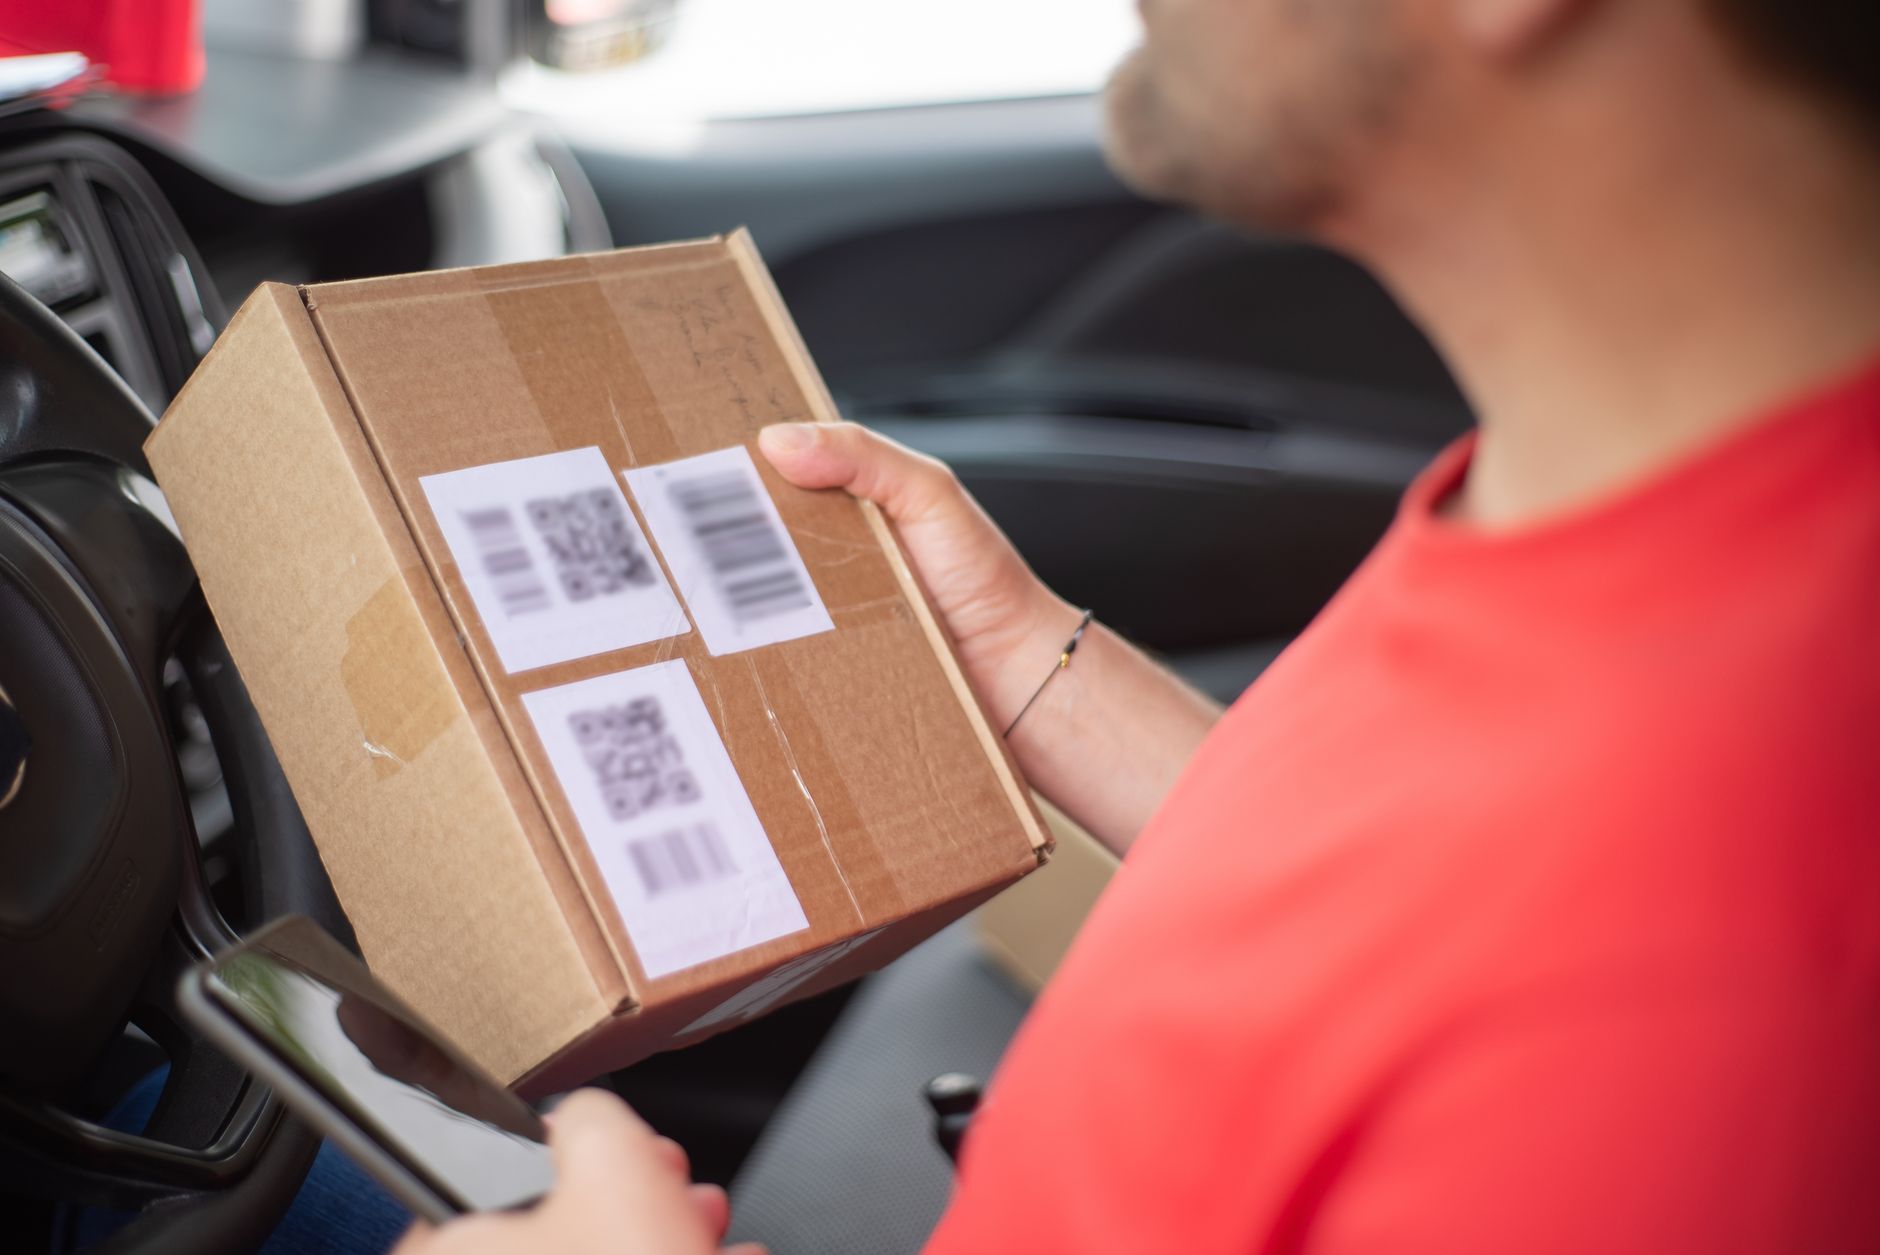
- **Another device (phone, tablet, or computer):** You'll need this to display the eSIM QR code provided by your eSIM provider, as you can't scan a QR code from the same screen you're trying to install it on. This is the step people often get wrong!
- **Your eSIM QR code or manual activation details:** This will be in the email or account area from your eSIM provider (like StrongeSIM).
Installing Your eSIM on Motorola: A Step-by-Step Guide
Using the QR Code Method (Recommended)
This is by far the easiest way to get your eSIM profile onto your Motorola device. Have your QR code ready on a separate screen before you begin.
- **Open Settings:** Tap the `Settings` app icon on your home screen or app drawer.
- **Navigate to Network & internet:** Scroll down and tap `Network & internet`.
- **Select SIMs:** Tap on `SIMs` (or `Mobile network` on some slightly older versions).
- **Add a new SIM:** You should see your existing physical SIM listed. Tap the `+` icon or `Download a SIM instead`.
- **Confirm SIM download:** Your phone will ask if you want to `Download your SIM`. Tap `Yes` or `Continue`.
- **Scan the QR code:** The camera will activate. Use your Motorola phone to scan the QR code displayed on your other device. If you have a Motorola Razr, make sure you're scanning with the main internal screen, even if the phone is folded; the outer screen camera isn't used for eSIM activation.
- **Wait for activation:** Your phone will connect to your eSIM provider's network and download the profile. This usually takes less than a minute. You’ll see a message like `Connecting to network` or `Activating eSIM`. When it’s done, you'll see a confirmation that the eSIM profile has been downloaded and is ready to use. It will likely appear in your `SIMs` list alongside your physical SIM, often labeled by the carrier name.
This is what success looks like: you'll see the new eSIM listed, and you'll often be prompted to name it (e.g., "Travel Data") and set it as your preferred SIM for mobile data. If you see a message about 'Could not download SIM' or 'Invalid QR code', double-check your Wi-Fi, ensure the QR code is clear, and that you're scanning the correct code for your plan.
Manual Entry Fallback (SM-DP+ Address)
If scanning the QR code isn't working or isn't an option, your eSIM provider will typically supply manual activation details. This includes an SM-DP+ Address and an Activation Code. The process starts the same way:
- **Follow steps 1-4 above:** `Settings > Network & internet > SIMs > +` (or `Download a SIM instead`).
- **Choose Manual entry:** When prompted to scan a QR code, look for an option like `Enter it manually` or `Use activation code`.
- **Enter details:** Carefully type in the provided SM-DP+ Address and Activation Code into the respective fields. These are often case-sensitive, so pay close attention.
- **Activate:** Tap `Activate` or `Connect`. Your phone will then attempt to download and install the eSIM profile.
Activating and Managing Your eSIM Data
Once your eSIM is installed, you'll need to configure your phone to use it for data. This is where the dual-SIM functionality of your Motorola really shines.
Setting Your Preferred Data SIM
Go back to `Settings > Network & internet > SIMs`. Here you'll see both your physical SIM and your new eSIM. You can:
- **Set Mobile data:** Tap `Mobile data` and select your newly installed eSIM (e.g., "Travel Data") to ensure all internet traffic uses this line.
- **Set Calls/SMS:** You can often set a preferred SIM for calls and SMS separately, or choose to be prompted each time. For most travelers, leaving calls/SMS on your physical SIM and data on your eSIM is ideal.
Enabling Data Roaming (Crucial for eSIMs)
For your eSIM to work when you're abroad, data roaming must be enabled for that specific eSIM profile. Don't worry, with a dedicated travel eSIM, this doesn't incur extra costs like traditional roaming. It just allows the eSIM to connect to partner networks in different countries.
- In `Settings > Network & internet > SIMs`, tap on your eSIM profile.
- Toggle `Data roaming` to `On`.
Make absolutely certain that data roaming is *off* for your primary, physical SIM if you want to avoid unexpected charges from your home carrier.
Troubleshooting Common eSIM Issues
Sometimes, things don't go perfectly the first time. Here are a few common fixes:
- **Restart your phone:** The oldest trick in the book, but it often resolves minor network glitches.
- **Check Wi-Fi:** Ensure you had a strong, stable internet connection during the initial download.
- **Verify APN settings:** While most eSIMs configure this automatically, sometimes you might need to manually input the Access Point Name (APN) provided by your eSIM carrier. You'll find this under your eSIM's settings: `Settings > Network & internet > SIMs > [Your eSIM] > Access Point Names`.
- **Contact support:** If you're still stuck, reach out to your eSIM provider's support team. They can verify your plan status and offer specific troubleshooting advice. StrongeSIM offers 24/7 support for all its users. You can always check our support page for more help.
Setting up an eSIM on Motorola might feel like a new frontier, but it's genuinely simple once you know the steps. Enjoy the freedom of seamless connectivity on your next adventure!
Frequently asked questions
Read next
 Set Up Your eSIM on Honor: A Step-by-Step GuideGetting an eSIM on Honor devices is a straightforward process once you know the specific steps. This guide walks you through setting up your travel data.
 How to Check eSIM Data Usage on Your PhoneKnowing how to check eSIM data usage is crucial for travelers to avoid running out of data or facing unexpected charges. This guide helps you track it.
 Exploring the Albanian Riviera: A Guide Before It ChangesThe Albanian Riviera is a stretch of coastline poised on the brink of major change. This guide helps you explore its best beaches, charming towns, and practicalities before it fully transforms.
Heading somewhere specific? Compare prepaid and unlimited plans across 197 eSIM destinations, or read the eSIM setup guide before you fly.