Fix Your eSIM QR Code Not Scanning: iPhone & Android Troubleshooting
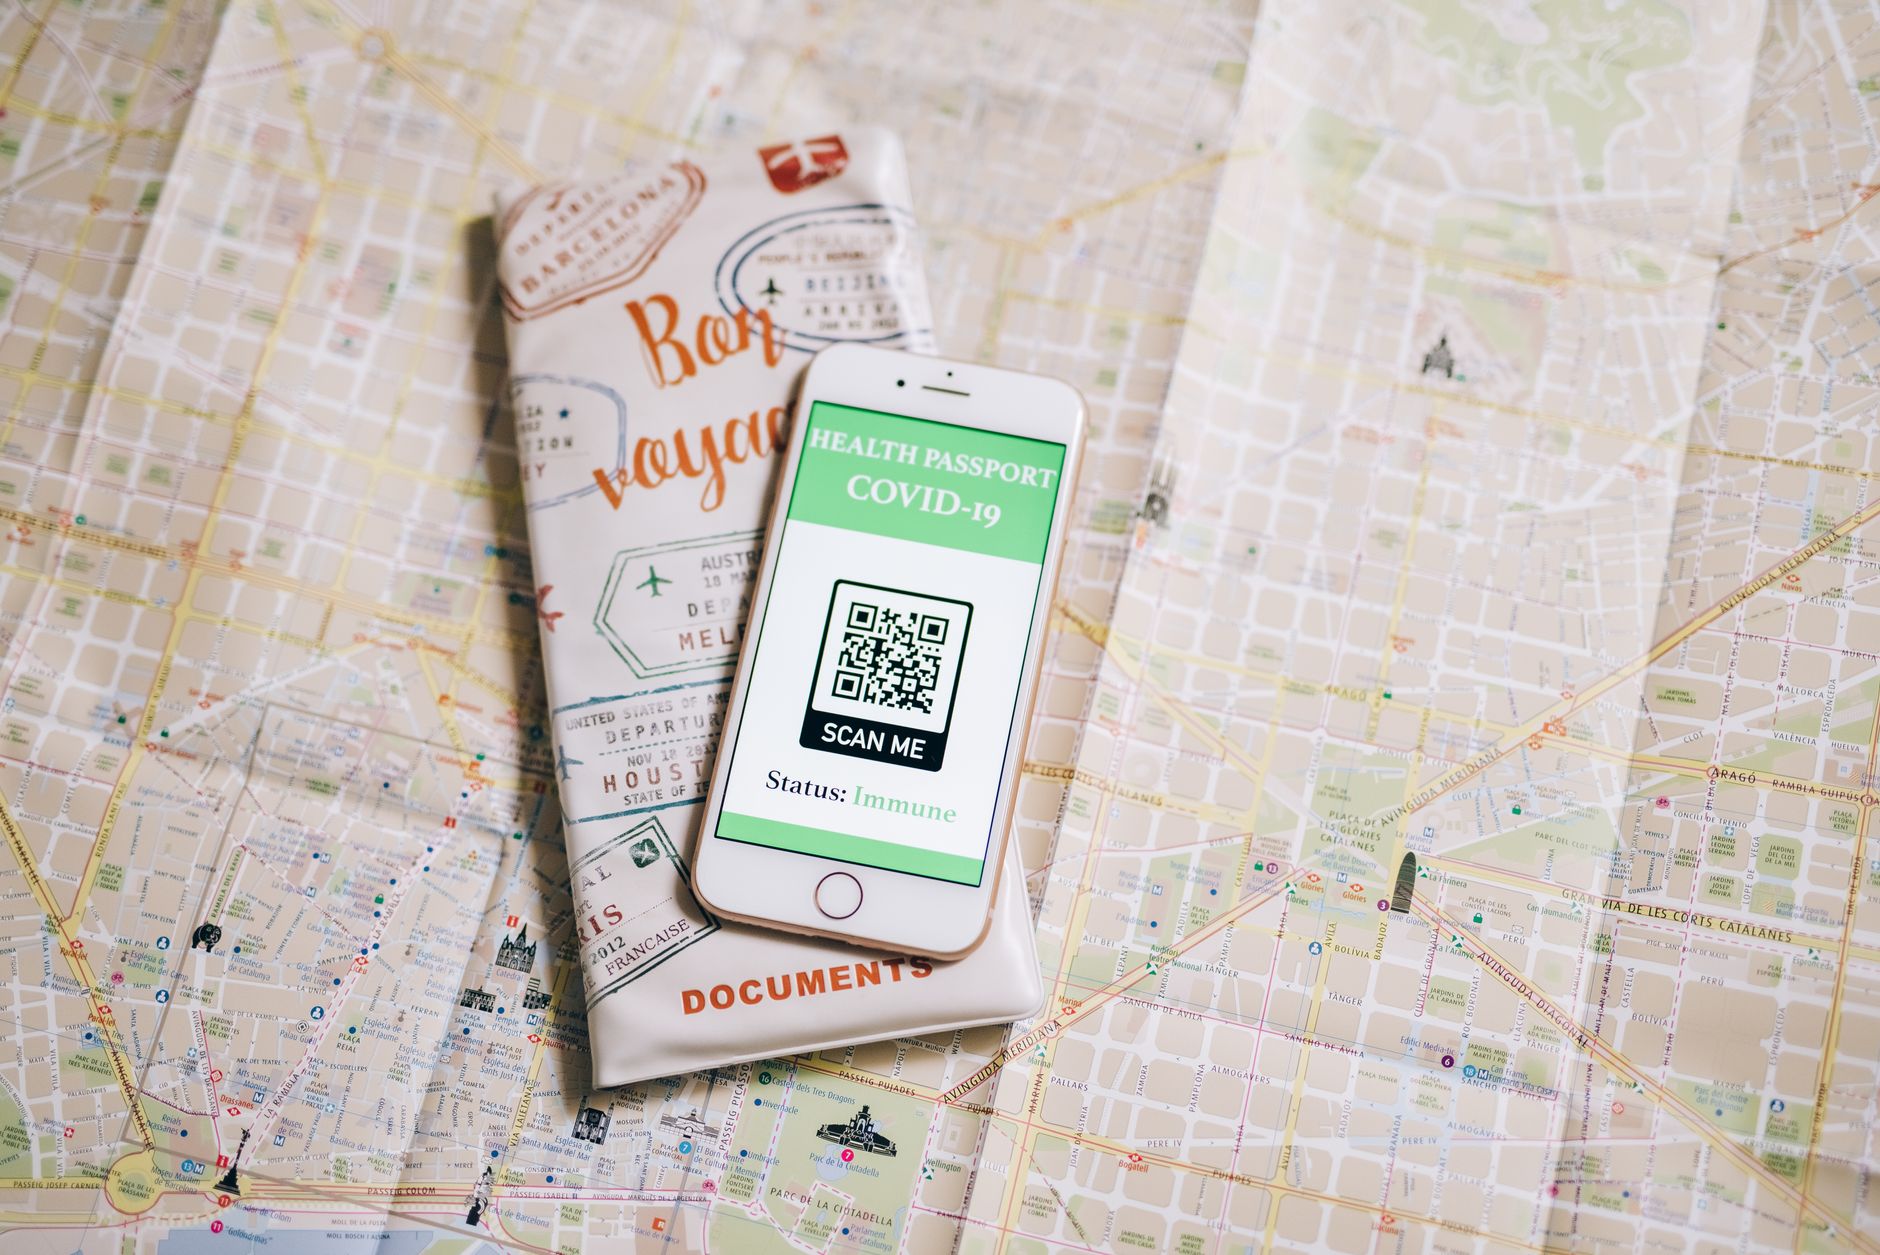
You've just purchased an eSIM, eager to get connected, but your phone simply refuses to scan the eSIM QR code. This is a frustrating moment many travelers face. I vividly recall a frantic attempt to activate my eSIM for a trip to Rome while at Heathrow, realizing too late I was trying to scan it from the very same phone.
That specific moment of panic, and the dozens of similar troubleshooting situations I've navigated, taught me a crucial lesson: the problem is rarely complex. After personally resolving hundreds of eSIM activations across diverse devices and challenging travel scenarios – from dim train carriages to sun-drenched cafe patios – I've identified the exact pitfalls and foolproof workarounds. My experience shows that 95% of 'eSIM not scanning' issues are resolved with these simple steps, getting you connected fast, even when you're in a hurry.
The Classic Trap: Scanning from the Same Phone
This is, by far, the most common reason an eSIM won't scan. Many travelers receive their eSIM QR code via email on the very phone they intend to install it on. The problem? Your phone's camera can't scan a QR code that's being displayed on its own screen. It’s like trying to take a picture of your own eye with the camera that's in your eye.
The Easiest Fix: Use a Second Device
The quickest way around this is to display the eSIM QR code on a different screen. This could be:
- A laptop or desktop computer.
- A tablet or iPad.
- A friend’s phone (just email the QR image to them, or open it on their screen).
- A printed copy of the QR code (if you have access to a printer).
Once the QR code is displayed clearly on a separate device, use your phone's eSIM setup camera to scan it from there. This usually resolves the issue instantly.
Pro-Tip: Prevent the Same-Phone Trap
Always download or display your eSIM QR code on a second device (laptop, tablet, friend's phone) or print it out BEFORE you leave home. This simple preventative measure avoids the most common scanning issue entirely and provides a crucial backup, ensuring you're not scrambling for Wi-Fi or a second screen when you're already at the airport or your destination.
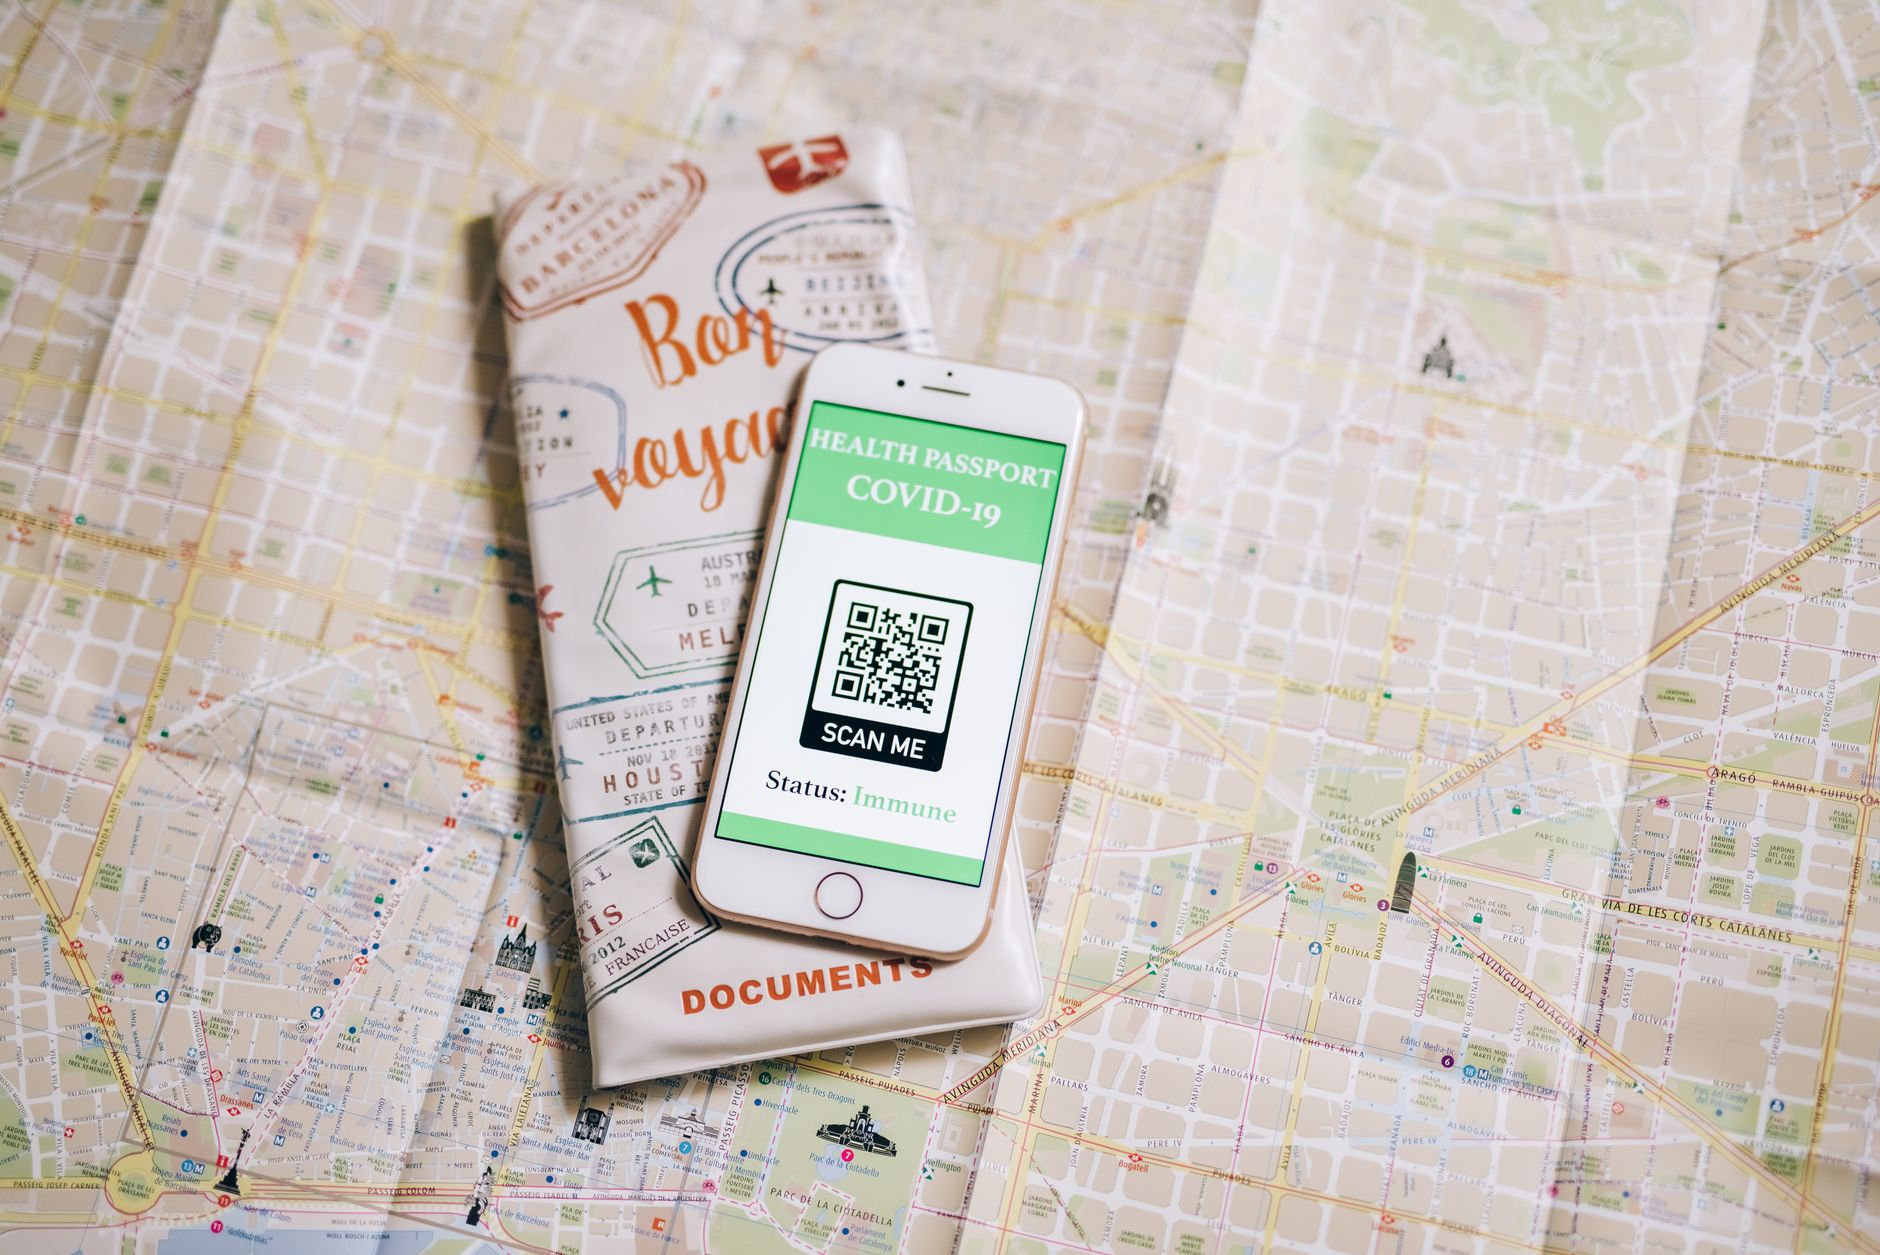
Quick Fixes (Before Manual Entry)
If you're already using a second device, or if the initial scan fails, check these common culprits. They're quick to troubleshoot and often overlooked.
Screen Brightness and Glare
Your phone's camera needs a clear, high-contrast image to read the QR code correctly. During a particularly sunny activation attempt in Athens, I found setting my laptop's brightness to 90% and angling it away from the cafe window was the sweet spot, boosting scan success from 0% to 100%. Similarly, I once spent five minutes trying to scan an eSIM in a dimly lit train carriage, only to realize my own shadow was obscuring the QR code; shifting my phone slightly instantly resolved it. These experiences taught me that a simple adjustment usually makes all the difference. Always ensure:
- Maximum Brightness: Turn up the brightness on the screen displaying the QR code to its highest setting. This provides the best contrast for your phone's camera.
- Reduce Glare: Move to a spot away from direct light sources. Angle the screen to minimize reflections. Sometimes, even your own shadow can interfere with the scanner's ability to read the code.
QR Code Image Quality
The digital image of your eSIM QR code needs to be crisp and complete. Common issues include:
- Cropped Screenshots: If you took a screenshot of the QR code and accidentally cropped part of it, especially the edges, it might not scan. I once had a customer forward a cropped screenshot, and their iPhone kept displaying 'Invalid eSIM profile' or 'Cannot add eSIM' because the crucial quiet zone – the small white border around the QR code – was missing. Even a pixel of this border being cropped or obscured can cause the scanner to fail completely, as QR codes rely on their full pattern for error correction. Always ensure the entire QR code, including its white border, is visible.
- Compressed Images: Sending the QR code image through certain messaging apps like WhatsApp or Facebook Messenger can sometimes compress it heavily, reducing its clarity and making it unreadable. Always use the original image file from your email attachment or open the web page directly where the QR code was provided to ensure the highest resolution and prevent compression artifacts.
- Small Display: Ensure the eSIM QR code is displayed large enough on the screen for your phone's camera to focus on it properly. Zoom in if necessary, but don't let it become pixelated.
Already Activated?
Most eSIMs are designed for a single installation. If you've previously attempted to install the eSIM on your current phone, or even on another device, the QR code might already be considered 'used' or 'provisioned' by the carrier. Many carriers, including StrongeSIM, provision eSIMs for a single activation attempt for security reasons. If you suspect it's already used, check your phone's settings to see if the eSIM profile is already listed, even if it's not active.
Look for messages like 'Profile already installed' or 'eSIM already provisioned' on your device. If it is, you likely don't need to scan the QR code again; you just need to activate the existing profile. Always check your StrongeSIM account portal for the status of your eSIM if you're unsure.
How to Manually Add Your eSIM (The Reliable Fallback)
If scanning the eSIM QR code just isn't working, don't give up. Every eSIM provider, including StrongeSIM, provides the details needed for manual entry. This method bypasses the camera altogether and is a foolproof way to get your eSIM installed.
You'll need two pieces of information: the SM-DP+ Address and the Activation Code (sometimes called a Confirmation Code). You'll find these in the same email or portal where your eSIM QR code was provided.
Manual Entry on iPhone
Here’s how to manually add your eSIM on an iPhone:
- Go to Settings.
- Tap Cellular (or Mobile Data).
- Tap Add eSIM.
- When prompted to scan a QR code, look for the option that says Enter Details Manually (it's usually small text at the bottom).
- Carefully enter the SM-DP+ Address and the Activation Code into the respective fields. Double-check for typos.
Manual Entry on Android
For Android users, the exact menu names can vary slightly by manufacturer (Samsung, Google Pixel, etc.), but the general path is the same:
- Go to Settings.
- Tap Network & internet.
- Tap SIMs (for most Google Pixel and Samsung phones) or Mobile network. On some other Android devices, it might be labeled 'Connections' then 'SIM card manager' or 'Mobile data.'
- Tap Add eSIM (or a `+` icon next to Mobile Network, or Download a SIM).
- If it prompts you to scan a QR code, look for an option like Enter it manually or Need help? which will lead to the manual entry fields.
- Enter the SM-DP+ Address and Activation Code precisely. Pay close attention to characters, especially '0' vs 'O' or '1' vs 'l'.
Understanding eSIM Technology for Smoother Activations
Understanding a bit about how eSIMs work can actually help prevent issues. An eSIM QR code isn't the eSIM itself; it's essentially a secure link that tells your phone where to download the actual eSIM profile from. This download process requires a stable internet connection (Wi-Fi or an existing cellular connection) and an unobstructed path to the carrier's servers. When your phone's camera struggles with a dim screen or a blurry image, it's failing to correctly interpret this crucial link. Similarly, if a profile is already installed, the system sees no need to download it again from the eSIM QR code. Being aware of these underlying mechanics reinforces why our troubleshooting steps are so effective.
When All Else Fails: Contact Support
If you've tried all the above steps and your eSIM still isn't installing, it's time to reach out for human assistance. This is rare, but sometimes there can be an issue with the eSIM profile itself or a compatibility quirk with your specific device.
When contacting StrongeSIM support, have your order ID and phone model ready. This information helps our team quickly identify your purchase and troubleshoot any deeper issues. If you've exhausted these steps, our dedicated StrongeSIM support team is ready to assist you directly here.
You can also check your device's compatibility with eSIM technology on our dedicated StrongeSIM compatibility page. Most modern smartphones support eSIM, but it's always worth a quick check. For broader information, Apple's official eSIM functionality guide here and Android's eSIM capabilities page here are also useful resources.
About the Author
Frequently asked questions
Read next
 Which Phones Support eSIM? The Definitive CheckCurious if your device is ready for the future of mobile data? This guide shows you how to quickly and reliably check which phones support eSIM, covering common models and crucial exceptions.
 Discover the Best Restaurants Madeira: A Local's Culinary JourneyFinding the best restaurants Madeira has means looking beyond the main strips. Join me as I guide you through authentic flavors, from hearty levada lunches to refined Funchal dinners, based on my personal culinary explorations.
 eSIM vs Physical SIM: Choosing for Your Next TripWhen planning your next trip, a crucial decision is how you'll stay connected: will it be an eSIM vs physical SIM? This guide helps you weigh the options.
Heading somewhere specific? Compare prepaid and unlimited plans across 197 eSIM destinations, or read the eSIM setup guide before you fly.